In November last year I made another trip to Bristol Museum to draw netsuke. Kate brought me down to the basement of the museum, unlocking a door to a small room. She opened a cupboard on one side and pulled out a drawer filled with netsuke. I picked a dog, a snail and a fox, headed back upstairs and made some sketches.
Three Views of Fox or Tanuki Wrapped in Monk’s Robes
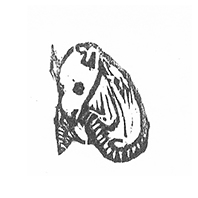
"Netsuke, ivory, Japanese fox or Tanuki kneeling up, wrapped in monk's robe - unsigned" - Bristol Museum

In the museum's collection this netsuke is described as Japanese fox or tanuki. There appear to be quite a few similarities between the fox and the tanuki in Japanese folklore. Mark Shumacher's wonderfully rich and informative online dictionary on Buddhism & Shintōism in Japan, reveals more in-depth writing on the folklore of these animals. Here's a snippet from his site.
“In Japanese folklore, the kitsune (fox) and tanuki (racoon dog) are masters of transformation - Kitsune are renowned tricksters. In many Japanese folk tales, the kitsune appears in the form of a bewitching woman who seduces and tricks unworthy men or rewards and protects deserving people - Fox folk can also cast illusions, appear in dreams, and read thoughts.”
“Tanuki as a Monk (Bōzu Tanuki 坊主狸 or Tanuki Bōzu 狸坊主). A common theme in Tanuki lore and artwork, wherein Tanuki disguises himself as a fat well-nourished Buddhist monk (see discussion of iconography under Big Belly). The tanuki, mujina, and fox appear often as trickster priests in Edo-era Japanese tales.”
Fox or Tanuki in the Studio
Today I decide to make a carving of the netsuke using kento registration. I find my notes from Peter Brown’s Japanese woodblock printing course at Spike Print Studio and work out the measurements to fit my block. As I look at my sketch I feel it looks more like a tanuki than a fox with it's small rounded ears and darkness circling its eyes. When I first saw this netsuke in the drawer, I saw a fox. Now I see a tanuki and I can understand why the museum haven't been able to label it as one or the other. Maybe this netsuke holds deeply its magical folklore as it shape-shifts between fox and tanuki showing us that the need to define ourselves by labels only constricts and hinders our potential. What is more interesting is the spirit of transformation to realise our potential and deepen our understanding of our true nature.
Fox or Tanuki - Transformation from Paper to Paper

Pasting Image on Gampi paper to Woodblock

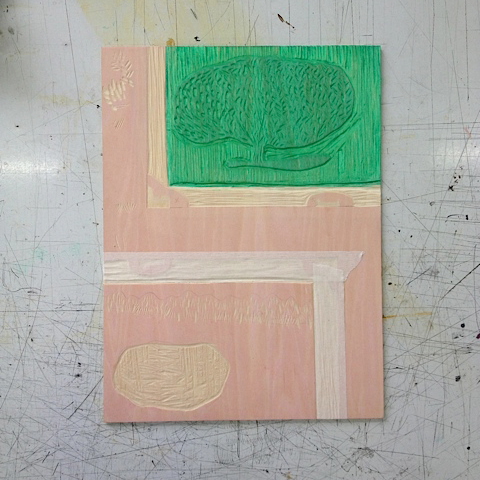
Kento Registration and Carving Fox on Magnolia Wood

Printing Fox with Japanese Carbon Ink

Original netsuke 'Fox or Tanuki Wrapped in Monk's Robes' from Bristol Museum. Unsigned.